Crafting an exceptional portrait is about cultivating a perspective on your subject, and the best photographer can unveil something about the individual they’re capturing. With an increasing number of individuals commencing their photography enterprises, one approach to distinguish oneself from the multitude is to become a master of superb lighting!
In the end, portrait photography is the seizing of perfect lighting. Here are beginner lighting portrait photography tips and suggestions that will brighten the path for improving your photographs.
1. Look at the Environment
Wherever you are, the initial stride to becoming an expert in portrait illumination is to survey your surroundings and observe what you have to work with. All lights are not forged alike. They all possess distinctive characteristics such as luminosity, gentleness, and temperature.
Various light sources can collaborate, or they can oppose each other. For instance, when it comes to daylight in a studio, the objective is to have the sunlight reflect and illuminate the space without directly hitting your subject.

2. Understand Lighting Patterns
A lighting pattern is how light interacts with the person’s facial characteristics to generate regions of brightness and darkness. The crucial aspect distinguishing patterns is the form of the shade projected on the individual’s face. The most prevalent patterns are the Butterfly, Split, Loop, and Rembrandt.
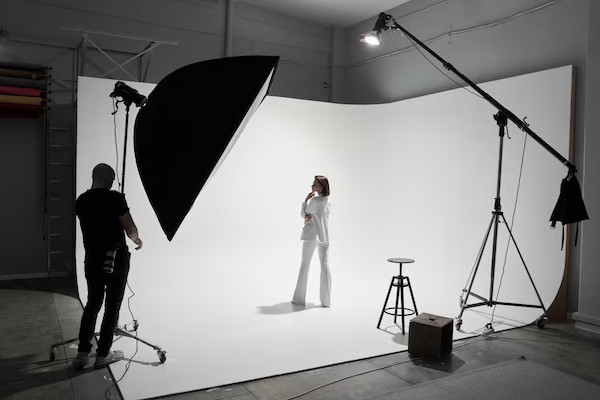
For portrait photography, a perfect arrangement is to have a main light on one side of the camera and a secondary light on the other, positioned at least a few feet apart. This will scatter the light and avoid those unpleasant reflection effects.
3. Colour Temperature is Key
As a photographer, you’ll need to become familiar with contemplating about kelvin measurements. For portrait photos, your camera might only correspond to one of the light colours to pure white. The second or third-kelvin value light will either appear too warm or cool and can disrupt your shot. The secret is to constantly attempt to align the light colour temperatures in your scene, particularly when they are not merely background elements but actively projected onto your subject.
4. Shadows for Contrast
It differs from how professional photographers convey depth and intrigue in their portraits. The greater the proportion between two lights, the more pronounced the contrast. Taking into account shadows as part of your process will give your pictures a more vibrant appearance that leads to a more captivating photographic outcome. As an added benefit, it’s also frequently more affordable and simpler to eliminate illumination than to introduce illumination.

5. Incorporate Bounce Boards
Bounce boards provide you with the capability to mirror or rebound the light back onto someone’s face. And all you require is a placard or foam board. Even when capturing images during the golden hour, a bounce board will assist you in guiding the light more effortlessly into your subject’s eyes, producing a captivating impact.
Great lighting will enhance any depiction. Understanding how to operate in varied light conditions, leveraging natural outdoor illumination, and executing more demanding approaches bring you closer to a collection of impressive portrait photography, capturing the model’s true essence.

